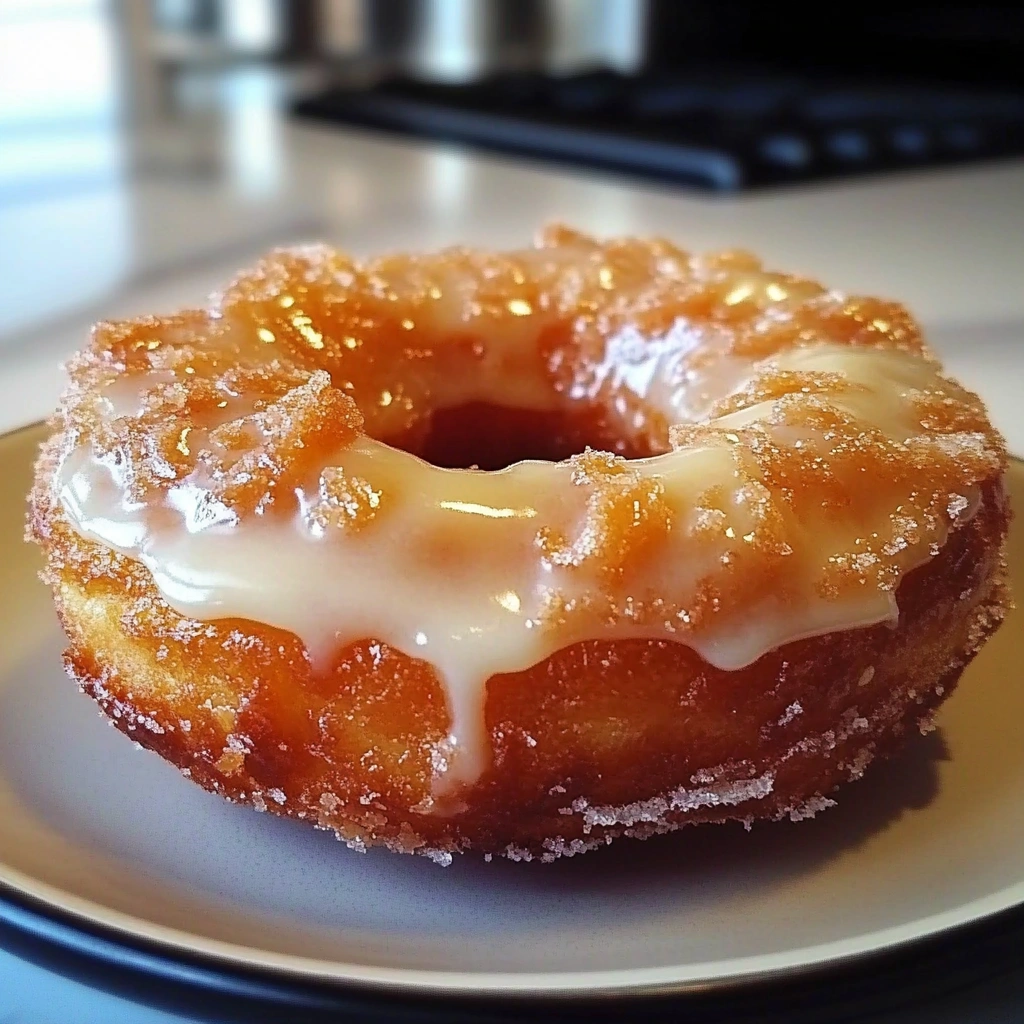
The Cronut is an exquisite pastry that marries the flaky, buttery layers of croissant dough with the delectably sweet and airy profile of a doughnut. Originating from New York City, this innovative creation has captivated dessert lovers with its unique texture and combination of flavors. The Cronut offers the inviting flavors of vanilla and cream from its pastry cream filling, complementing its golden, crispy exterior. Often adorned with a sweet glaze or sprinkles, this pastry is an absolutely wonderful indulgence, making it perfect for celebrations, brunch gatherings, or a lavish treat to enjoy anytime.

What You’ll Need for Cronut
Complete Ingredients List
- 3 cups all-purpose flour
- 1/4 cup granulated sugar
- 2 teaspoons instant yeast
- 1 teaspoon salt
- 1/2 cup warm milk
- 1/4 cup warm water
- 2 large eggs
- 1 cup unsalted butter, cold
- 2 quarts vegetable oil (for frying)
- 1 cup pastry cream or custard (for filling)
- 1/4 cup heavy cream (optional, for a lighter filling)
- 1 cup powdered sugar (for dusting)
- 1/2 cup glaze (optional, made from powdered sugar and milk)
- Sprinkles or chocolate drizzle (optional)
Ingredient Substitutions & Alternatives
Creating the Cronut opens up a world of possibilities for substitutions to accommodate various dietary needs:
- Allergen Substitutes: For a dairy-free version, consider using plant-based butter and almond or oat milk instead of the dairy ingredients. For gluten-sensitive individuals, use a gluten-free all-purpose flour blend, but remember that this may alter the texture slightly.
- Flavor Alternatives: Experiment with different flavored creams such as chocolate, coffee, or fruit-infused pastry cream for an exciting twist on the classic Cronut.
How to Make Cronut
The making of Cronuts is as delightful as the eating. Here is a step-by-step procedure that even novice bakers can follow.
Step 1: Prepare the Laminated Dough
In a large bowl, combine the all-purpose flour, granulated sugar, instant yeast, and salt. Creating a well in the center, pour in the warm milk, warm water, and eggs. Mix the ingredients until they form a cohesive dough. Knead the dough on a lightly floured surface for about 10 minutes until smooth and elastic. Once the dough is kneaded, cover it with a kitchen towel and let it rest for 30 minutes to allow the yeast to activate and the gluten to relax, which will help in the layering process.
Step 2: Incorporate the Butter
After the dough has rested, transfer it to a floured surface and roll it out into a large rectangle about 1/2-inch thick. Take the cold unsalted butter, shape it into a flat square, and place it in the center of the rolled-out dough. Fold the dough over the butter, making sure to seal the edges well to prevent leakage during rolling.
Step 3: The Laminating Process
This step is crucial for forming the iconic layers of the Cronut. With a rolling pin, roll the dough out into a long rectangle again, then fold it into thirds like a business letter. Wrap this folded dough in plastic wrap and chill in the refrigerator for 30 minutes. Repeat this rolling and folding process 3 to 4 times, allowing the dough to chill between folds. This technique creates the flaky layers that will be the Cronut’s hallmark.
Step 4: Chill Overnight
After completing the lamination process, wrap the dough tightly in plastic wrap and let it chill in the refrigerator overnight. This step allows for the gluten to relax further, aiding in the texture of the pastry and ensuring the dough can rise beautifully during frying.
Step 5: Shape and Proof
The next day, take the chilled dough out, and on a floured surface, roll it out to about 1/2-inch thickness. Using a doughnut cutter or two different-sized round cutters, cut out the doughnut shapes. Place the shaped dough onto a parchment-lined baking sheet and cover them with a kitchen towel. Allow them to proof for 1 to 2 hours in a warm place until they have risen to about double their size.
Step 6: Fry the Cronuts
In a deep, heavy-bottomed pot, heat the vegetable oil to 350°F (175°C). Once the oil is hot, gently place 1-2 Cronuts in the pot, being careful not to overcrowd the pan. Fry them for about 1-2 minutes on each side until they turn a beautiful golden brown. Use a slotted spoon to remove them from the oil and place them on a paper towel-lined plate to drain any excess oil.
Step 7: Fill and Decorate
Once the Cronuts have cooled slightly, it’s time for the fun part—filling them! Using a piping bag fitted with a small round tip, carefully inject the pastry cream into the center of the cronuts. For added sweetness, roll them in powdered sugar, drizzle with a glaze made from powdered sugar and a splash of milk, or sprinkle with your favorite toppings like sprinkles or chocolate drizzle.
Serving Suggestions for Cronut
How to Serve Cronut
Cronuts are best served warm, right after frying, as this enhances their flaky texture and flavor. You can enjoy them as they are, or allow them to cool to room temperature for a more leisurely treat. When adorning cronuts with optional toppings, a light dusting of powdered sugar elevates their presentation.
Perfect Pairings & Toppings
To elevate your Cronut experience, consider pairing them with a rich, dark coffee or a cup of sweet tea. For an added treat, serve them alongside a small dish of fresh fruit or a scoop of ice cream. Consider topping them with whipped cream or caramel sauce for an indulgent dessert.
Storing & Preserving Cronut
Best Storage Methods
Your Cronuts are best enjoyed fresh, but if you have leftovers, it’s crucial to store them correctly. Keep them in an airtight container at room temperature for up to two days to maintain their flaky texture. For longer storage, place them in the refrigerator, where they can last up to a week.
Reheating or Freezing Tips
If you wish to reheat your Cronuts, place them in a preheated oven at 350°F (175°C) for about 5 minutes. This will help restore their crispiness. Alternatively, you can freeze unfilled Cronuts by wrapping each in plastic wrap and placing them in a freezer-safe bag. They can be stored for up to a month. Thaw them in the fridge overnight and reheat before serving for the best results.
Tips for Perfect Cronut Every Time
Avoid These Common Mistakes
Making the perfect Cronut can be challenging. One common mistake is not allowing enough time for the dough to rest or chilling too little between folds, which can lead to less flaky results. Ensure that your butter remains cold during the lamination process to maintain distinct layers.
Helpful Tricks for Success
- Cold Ingredients: Keeping your ingredients, especially the butter, cold is essential for achieving those desired layers.
- Proper Frying Temperature: Use a kitchen thermometer to monitor the oil temperature accurately—too hot can cause your Cronuts to burn on the outside while remaining raw inside.
- Elevate Your Fillings: Experiment with your favorite flavorings in pastry cream, such as zests or liqueurs (excluding alcohol), to enhance your Cronut experience.
Fun Variations of Cronut
Flavor Variations or Recipe Twists
There’s so much room for creativity with Cronuts! Consider adding ingredients like chocolate chips or nuts to the pastry dough for added flavor and texture. You can also fill them with seasonal fruits like raspberry or mango puree for a fresh twist.
Dietary-Friendly Adjustments
If you’re looking to make these Cronuts vegan, substitute eggs with aquafaba (chickpea water), use dairy-free butters, and almond milk rather than regular milk. Experiment with different sweeteners like maple syrup or coconut sugar for a healthier alternative.
FAQs
What If My Cronut Doesn’t Turn Out Right?
If your Cronut turns out too dry, it could be a sign that the dough was overworked or baked too long. Conversely, if it is dense or heavy, the dough may not have been adequately laminated. Focus on mastering the folding and chilling process.
Can I Prepare This in Advance?
Yes, you can prepare the dough the night before and complete the frying process in the morning. Alternatively, you can fill and decorate them a few hours in advance before serving, but for best texture, fill them right before serving.
What Ingredients Can I Swap?
If you can’t find the specific ingredients needed, instant yeast can be replaced with active dry yeast (allow an additional rise time), and all-purpose flour can be substituted with a gluten-free option commercially available.
Print
Cronut
- Total Time: 13–14 hours
- Yield: 12 cronuts 1x
- Diet: Vegetarian
Description
Flaky, buttery, and perfectly golden—these homemade Cronuts combine the best of croissants and donuts in one irresistible treat. Filled with creamy custard, topped with a light glaze or chocolate drizzle, and perfect for special occasions or brunch indulgence.
Ingredients
- 3 cups all-purpose flour
- 1/4 cup granulated sugar
- 2 teaspoons instant yeast
- 1 teaspoon salt
- 1/2 cup warm milk
- 1/4 cup warm water
- 2 large eggs
- 1 cup unsalted butter, cold
- 2 quarts vegetable oil (for frying)
- 1 cup pastry cream or custard (for filling)
- 1/4 cup heavy cream (optional, for a lighter filling)
- 1 cup powdered sugar (for dusting)
- 1/2 cup glaze (optional, made from powdered sugar and milk)
- Sprinkles or chocolate drizzle (optional)
Instructions
- Make Dough: In a large bowl, mix flour, sugar, yeast, and salt. Add warm milk, water, and eggs. Stir until combined and knead on a floured surface for 10 minutes. Cover and let rest for 30 minutes.
- Incorporate Butter: Roll out the dough into a rectangle. Place flattened cold butter in the center. Fold the dough over the butter and seal the edges.
- Laminating: Roll the dough out, fold it into thirds, wrap, and chill for 30 minutes. Repeat 3–4 times, chilling between each fold.
- Chill Overnight: Wrap the dough in plastic and refrigerate overnight.
- Shape and Proof: Roll dough to 1/2-inch thickness. Cut into donut shapes and place on parchment. Cover and let rise for 1–2 hours until doubled in size.
- Fry: Heat oil to 350°F (175°C). Fry 1–2 cronuts at a time for 1–2 minutes per side until golden. Drain on paper towels.
- Fill and Decorate: Use a piping bag to fill with pastry cream. Dust with powdered sugar, drizzle with glaze or chocolate, and decorate as desired.
Notes
- Gluten-Free: Use gluten-free all-purpose flour (results may vary).
- Dairy-Free: Replace milk, cream, and butter with plant-based options.
- Filling Flavors: Try chocolate, coffee, or fruit-flavored pastry creams.
- Storage: Best eaten fresh, but can be stored in the fridge for 1–2 days.
- Prep Time: 1 hour (plus overnight chilling)
- Cook Time: 15 minutes
- Category: Dessert, Pastry
- Method: Frying
- Cuisine: French-American Fusion
Nutrition
- Serving Size: 1 cronut
- Calories: 360
- Sugar: 14g
- Sodium: 150mg
- Fat: 22g
- Saturated Fat: 11g
- Unsaturated Fat: undefined
- Trans Fat: undefined
- Carbohydrates: 34g
- Fiber: 1g
- Protein: 5g
- Cholesterol: 70mg
Keywords: cronut recipe, homemade cronuts, croissant donuts, custard-filled cronuts, deep-fried pastry, flaky donut recipe