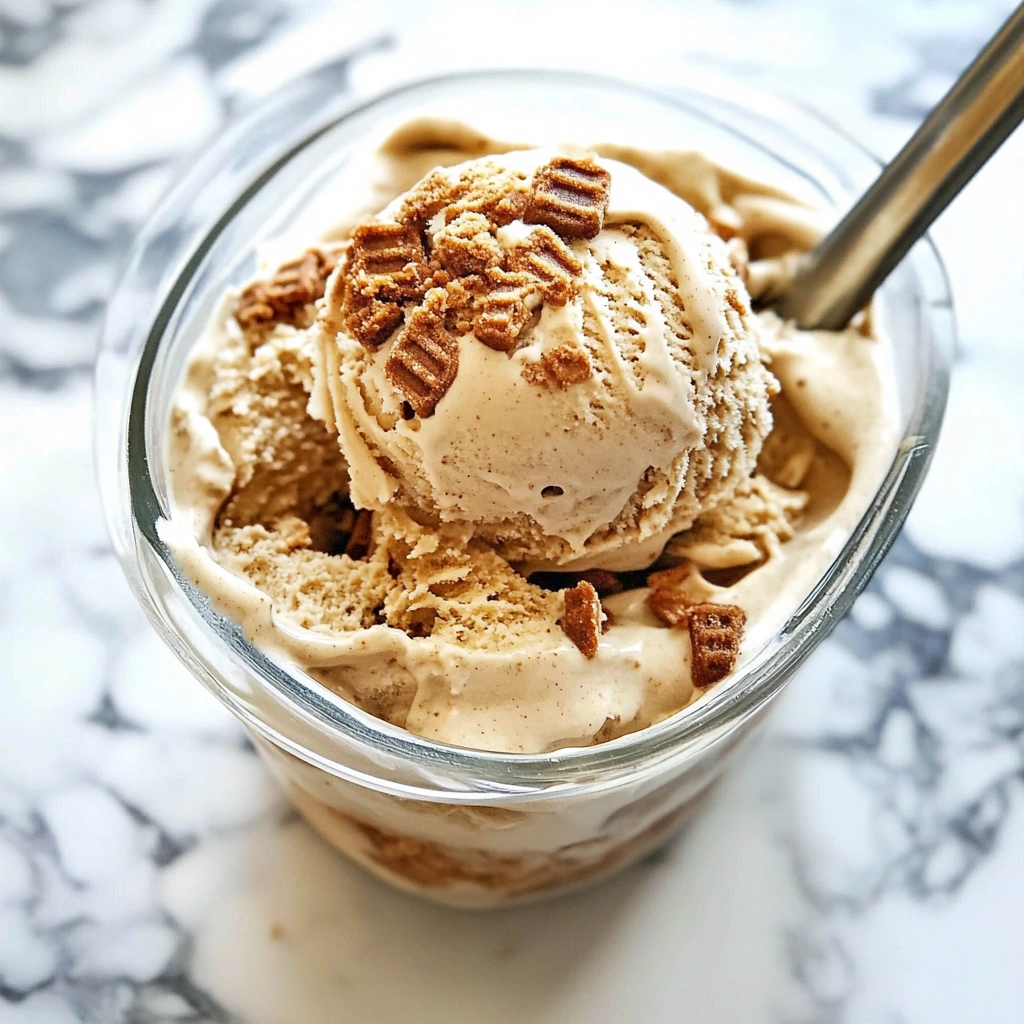
Biscoff Ice Cream is the perfect dessert for cookie butter enthusiasts and ice cream lovers alike. This delightful frozen treat brings the iconic caramelized flavor of Biscoff cookies into a creamy, dreamy confection that is not only easy to prepare but also incredibly satisfying to enjoy. With a velvety texture that melts in your mouth and rich, buttery notes that echo the beloved Biscoff cookies, this ice cream is a modern twist on dessert that promises to impress at any gathering or celebration.

What You’ll Need for Biscoff Ice Cream
This delicious Biscoff Ice Cream recipe requires just a handful of simple ingredients, ensuring that making this delightful dessert is straightforward and accessible. Here’s what you’ll need to whip up a batch of this heavenly ice cream that’s sure to become a favorite in your household!
Complete Ingredients List
- Sweetened Condensed Milk – 1 can (14 ounces).
- Biscoff Cookie Butter – 1 cup, divided.
- Heavy Whipping Cream – 2 cups.
- Vanilla Extract – 1 teaspoon.
- Chopped Biscoff Cookies – 1 1/4 cups, divided.
Ingredient Substitutions & Alternatives
Dairy-Free Option: Substitute the heavy whipping cream with coconut cream or a dairy-free whipping cream for a lactose-free version. Ensure the sweetened condensed milk is plant-based if required.
Gluten-Free: Use gluten-free Biscoff cookies and cookie butter to ensure compatibility with gluten-free diets.
Flavor Variations: For unique flavors, consider incorporating peanut butter swirls, adding chocolate chips, or mixing in a layer of fruit like chopped strawberries or bananas into the ice cream mixture.
How to Make Biscoff Ice Cream
Creating Biscoff Ice Cream is not only simple but also much quicker than you might expect. This no-churn method means that you won’t need any special equipment or fuss with ice cream machines! Follow these detailed steps to make your own luxurious ice cream that will impress everyone who tastes it.
Step 1: Prepare the Cookie Butter Mixture
Start by adding the sweetened condensed milk and 1/2 cup of the Biscoff cookie butter into a large mixing bowl. Using a whisk, blend the two components until they are smooth and fully combined. This will form the base of your ice cream. Set this bowl aside for later use.
Step 2: Melt the Remaining Cookie Butter
Take the remaining 1/2 cup of Biscoff cookie butter and place it in a microwave-safe bowl. Heat it in the microwave for approximately 30 seconds, or until it’s slightly melted. Stir to ensure it is smooth and set this aside. This melted cookie butter will create beautiful swirls in your ice cream.
Step 3: Whip the Cream
In a separate large bowl, use an electric mixer to beat the heavy whipping cream and the vanilla extract together on medium-high speed. Continue to whip until stiff peaks form. This process adds air into the cream, giving your ice cream a light and fluffy texture.
Step 4: Combine the Mixtures
Gently fold the whipped cream into the sweetened condensed milk and cookie butter mixture using a spatula. Be careful not to deflate the whipped cream; you want to maintain the airy quality it contributes. Once just combined, gently fold in 1 cup of the chopped Biscoff cookies.
Step 5: Layer the Ice Cream
In a 9×5-inch loaf pan, pour 1/3 of the ice cream mixture and spread it out evenly. Drizzle a few drops of the melted Biscoff cookie butter over this first layer. Follow this by spreading another 1/3 of the ice cream on top, repeating the drizzle of melted cookie butter, and finishing with the remaining ice cream. Use a knife to carefully swirl the melted cookie butter into the layers, creating ribbons of flavor throughout.
Step 6: Finish and Freeze
Once the layers are complete, sprinkle the remaining 1/4 cup of chopped Biscoff cookies on top for an extra crunchy finish. Cover the pan with a lid or plastic wrap and place it in the freezer for at least 8 hours, or until completely firm. When ready to serve, scoop out portions and enjoy!
Serving Suggestions for Biscoff Ice Cream
Biscoff Ice Cream deserves to be showcased with creativity. Here’s how to serve this delightful dessert:
How to Serve Biscoff Ice Cream
To enjoy your Biscoff Ice Cream at its best, scoop it out from the freezer approximately 5-10 minutes before serving to allow it to soften slightly. This will make it much easier to scoop and allow the flavors to shine at a more enjoyable temperature.
When plating, you might consider using a chilled bowl to keep the ice cream from melting too quickly. If you’ve got a steady hand, try forming precise scoops and stacking them high for an impressive presentation!
Perfect Pairings & Toppings
Elevate your Biscoff Ice Cream experience with some delightful toppings and side additions. Here are some recommendations:
Toppings: Consider drizzling with extra melted Biscoff cookie butter or chocolate sauce, sprinkling crushed Biscoff cookies, or adding crushed nuts for a crunchy texture.
Side Dishes: Pairing with warm desserts like brownies or pie adds a delicious contrast. A side of sliced fresh fruits can also brighten the plate.
Storing & Preserving Biscoff Ice Cream
To ensure that your homemade Biscoff Ice Cream stays fresh and delicious, follow these storage tips.
Best Storage Methods
Store your Biscoff Ice Cream in the freezer in an airtight container or keep it in the original loaf pan covered with plastic wrap. This will prevent freezer burn and maintain optimal texture. When stored properly, this ice cream should last for about 2-3 weeks in the freezer.
Reheating or Freezing Tips
If you find that your ice cream has become too hard after being in the freezer, simply remove it for about 10 minutes before scooping to let it soften a bit. Avoid placing it at room temperature for extended periods, as this may affect the texture and cause melting, which could lead to ice crystals forming when refrozen.
Tips for Perfect Biscoff Ice Cream Every Time
Making Biscoff Ice Cream at home is quite straightforward, but some tips can help you achieve perfection every time.
Avoid These Common Mistakes
Overwhipping the Cream: Ensure that you don’t overwhip your heavy cream as this can cause a butter-like texture instead of the light and airy finish you want.
Not Folding Gently: When combining the whipped cream with the cookie butter mixture, folding gently is key to maintaining the lightness that is essential for ice cream.
Skipping the Freezer Time: It’s essential to let the ice cream freeze long enough to set properly; rushing this process could lead to a soft, unmanageable texture.
Helpful Tricks for Success
Use Chilled Tools: For best results, chill your mixing bowls and utensils; this helps maintain cool temperatures, keeping your whipped cream from warming up too quickly.
Layer Carefully: When layering the ice cream, be sure to spread the layers evenly without overfilling, which allows for better swirls of cookie butter.
Fun Variations of Biscoff Ice Cream
Don’t hesitate to get creative — Biscoff Ice Cream is versatile and can accommodate several variations.
Flavor Variations or Recipe Twists
Fruit Additions: Add fresh strawberries or bananas to each layer for fruity flavor bursts that balance the sweetness.
Chocolate Drizzle: Drizzle a bit of melted chocolate sauce on top before freezing for a decadent touch.
Dietary-Friendly Adjustments
For those following specific diets, you can make your Biscoff Ice Cream:
Vegan Version: Utilize coconut cream and dairy-free cookie butter and ensure any additives are vegan-friendly.
Sugar-Free: Substituting the sweetened condensed milk with a sugar-free alternative can help meet dietary needs without sacrificing flavor.
FAQs
What If My Biscoff Ice Cream Doesn’t Turn Out Right?
If you encounter issues such as your ice cream being too hard or grainy, it may be from not incorporating the whipped cream properly. Ensure to fold gently and store the ice cream in an airtight container to avoid freezer burn. If it’s too soft, try letting it freeze for a longer period.
Can I Prepare This in Advance?
Absolutely! Biscoff Ice Cream can be made a few days in advance; simply freeze it until you’re ready to serve. Be sure to store it in an airtight container to keep it fresh and free from ice crystal formation.
What Ingredients Can I Swap?
If you’re having trouble finding Biscoff cookie butter, you could replace it with other speculoos spread brands or any cookie butter alternative. If you don’t have heavy cream, substitutes like whipped coconut cream can work, although they may alter the flavor some.
Print
Biscoff Ice Cream
- Total Time: 8 hours 20 minutes (includes freezing)
- Yield: 10 servings 1x
- Diet: Vegetarian
Description
Biscoff Ice Cream is a creamy, no-churn frozen dessert that captures the irresistible flavor of caramelized Biscoff cookies and cookie butter. It’s rich, smooth, and incredibly easy to make at home—perfect for cookie lovers and ice cream fans alike.
Ingredients
- 1 can (14 ounces) Sweetened Condensed Milk
- 1 cup Biscoff Cookie Butter, divided
- 2 cups Heavy Whipping Cream
- 1 teaspoon Vanilla Extract
- 1 1/4 cups Chopped Biscoff Cookies, divided
Instructions
- In a large bowl, whisk together the sweetened condensed milk and 1/2 cup of Biscoff cookie butter until smooth. Set aside.
- Melt the remaining 1/2 cup of Biscoff cookie butter in the microwave for 30 seconds, stir until smooth, and set aside.
- In another bowl, beat the heavy whipping cream and vanilla extract with an electric mixer until stiff peaks form.
- Gently fold the whipped cream into the sweetened condensed milk mixture. Do not overmix.
- Fold in 1 cup of chopped Biscoff cookies.
- In a 9×5-inch loaf pan, layer 1/3 of the ice cream mixture, drizzle some melted cookie butter, and repeat until all the mixture is used. Swirl with a knife for a marbled effect.
- Top with the remaining 1/4 cup of chopped cookies.
- Cover and freeze for at least 8 hours or until firm. Scoop and enjoy!
Notes
- For a dairy-free version, use coconut cream and plant-based condensed milk.
- Use gluten-free cookie butter and cookies if needed.
- Add chocolate chips, peanut butter, or fruit for flavor variations.
- Let sit at room temperature for 5 minutes before scooping for easier serving.
- Prep Time: 20 minutes
- Cook Time: 0 minutes
- Category: Dessert
- Method: No-churn, Freezing
- Cuisine: American
Nutrition
- Serving Size: 1/2 cup
- Calories: 310
- Sugar: 21g
- Sodium: 90mg
- Fat: 22g
- Saturated Fat: 13g
- Unsaturated Fat: 8g
- Trans Fat: 0g
- Carbohydrates: 27g
- Fiber: 0.5g
- Protein: 3g
- Cholesterol: 55mg
Keywords: biscoff ice cream, no-churn ice cream, cookie butter dessert, homemade ice cream, biscoff recipes