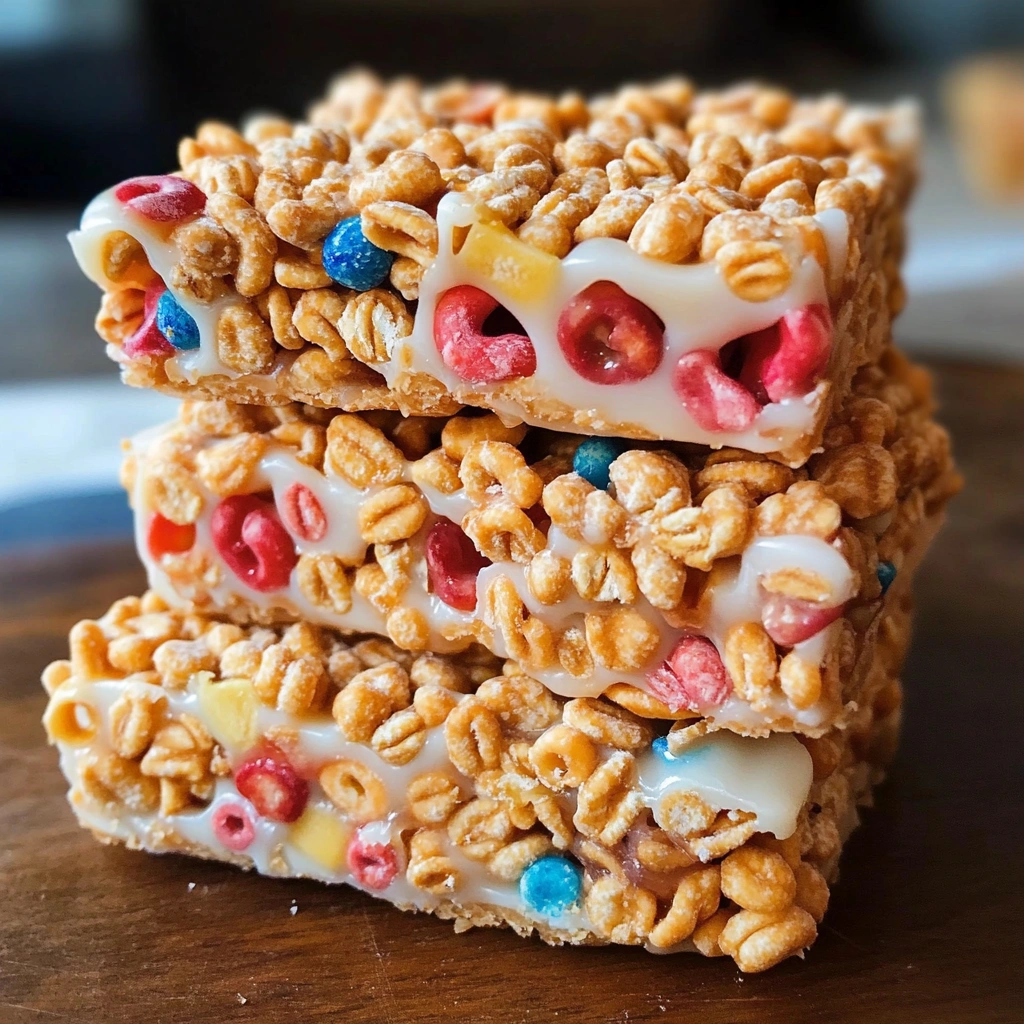
About Cereal Bars
Cereal bars have become a beloved snack for many, and it’s no wonder! These portable delights are often chewy, sweet, and bursting with flavors that can be customized to suit any taste. Typically made with a combination of cereal, nuts, and a sticky sweetener, cereal bars offer both a satisfying crunch and a chewy texture that makes every bite enjoyable.

What You’ll Need for Cereal Bars
Complete Ingredients List
- 3 cups of rolled oats
- 1 cup of rice cereal (like Krispies)
- 1 cup of nut butter (such as almond or peanut butter)
- 1/2 cup of honey or maple syrup
- 1/2 teaspoon of vanilla extract
- 1/2 teaspoon of salt
- Optional: 1 cup of add-ins (such as chocolate chips, dried fruit, or chopped nuts)
Ingredient Substitutions & Alternatives
- Nut Butter: Swap with sunflower seed butter or tahini for a nut-free option.
- Sweeteners: Replace honey with agave syrup for a vegan alternative or use brown rice syrup for a lower glycemic option.
- Oats: For a gluten-free version, choose certified gluten-free oats.
You can also creatively vary the flavors by using flavored nut butters or incorporating spices like cinnamon or cocoa powder.
How to Make Cereal Bars
Step 1: Prepare the Base
Begin by preheating your oven to 350°F (175°C) if you plan to bake your bars. Grease a baking dish (typically 8×8 inches) with cooking spray or line it with parchment paper for easy removal. In a large mixing bowl, combine the rolled oats and rice cereal, stirring them together until well-mixed.
Step 2: Heat the Sweet Mixture
In a small saucepan over medium heat, combine your nut butter, honey (or maple syrup), vanilla extract, and salt. Stir continuously until the mixture is smooth and well blended. This usually takes about 2-3 minutes.
Step 3: Combine the Mixtures
Pour the warm nut butter mixture over the oat and rice cereal mixture. Using a spatula or wooden spoon, mix until everything is thoroughly combined. If you’re adding chocolate chips or dried fruit, fold them in at this stage.
Step 4: Form the Bars
Transfer the mixture into the prepared baking dish. With the back of your spatula or your hands (dampened with water to avoid sticking), press the mixture firmly into the pan, ensuring it’s evenly spread out. For a chewier texture, bake for about 15-20 minutes or leave it unbaked for a softer, no-bake version.
Step 5: Cool and Cut
Once baked or cooled, allow the cereal bars to rest in the dish for at least 30 minutes to set. Once they’re cool, lift them out using the parchment paper edges and slice them into bars or squares. Store them in an airtight container.
Serving Suggestions for Cereal Bars
How to Serve Cereal Bars
Cereal bars can be enjoyed at room temperature, making them an easy grab-and-go snack. They’re perfect for breakfast on busy mornings or as an afternoon pick-me-up. When plated, consider cutting them into uniform squares for a neat presentation or arranging them on a colorful platter to entice your guests.
Perfect Pairings & Toppings
Cereal bars pair beautifully with a variety of toppings and sides. Drizzle warm chocolate or peanut butter on top for added indulgence, or sprinkle sea salt to enhance the flavor. You could also serve them alongside fresh fruits or yogurt for a delightful snack combination.
Storing & Preserving Cereal Bars
Best Storage Methods
Cereal bars can be stored at room temperature in an airtight container for up to a week. If you need them to last longer, refrigerate them for 2-3 weeks or freeze them for up to 3 months. Just be sure to separate the bars with parchment paper to prevent them from sticking together.
Reheating or Freezing Tips
If frozen, remove the cereal bars and let them thaw in the fridge overnight before consuming. For a quick snack, you can microwave them for about 10-15 seconds to bring back some warmth. Just be careful not to overheat them, as this may alter their delightful chewy texture.
Tips for Perfect Cereal Bars Every Time
Avoid These Common Mistakes
- Overmixing: If you mix the cereal and wet ingredients too vigorously, you may break down the cereal and create a mushy texture.
- Insufficient Pressing: Failing to press the mixture firmly into the pan may result in bars that crumble apart instead of holding together.
- Skipping on Cooling: Cutting them too soon before they have cooled completely can lead to sticking, uneven bars.
Helpful Tricks for Success
- Use Parchment Paper: Always line your baking dish with parchment paper for easy removal and clean-up.
- Damp Hands: Wet your fingers slightly while pressing the mixture; this will prevent it from sticking and help shape it more easily.
Fun Variations of Cereal Bars
Flavor Variations or Recipe Twists
Incorporate different add-ins like nuts, coconut flakes, or seeds to create different flavor profiles. For a fruity twist, mix in dried cranberries or chopped apricots. You can even use flavored protein powder for an extra boost.
Dietary-Friendly Adjustments
- Vegan: Use maple syrup and any nut or seed butter of your choice.
- Keto: Replace the oats with nuts or seeds and use keto-friendly sweeteners like erythritol or stevia.
FAQs
What If My Cereal Bars Doesn’t Turn Out Right?
If your bars are too dry, try adding a tablespoon of water or additional sweetener to the mix before pressing it into the pan. If they’re too sticky, it may be that you skipped the baking step; ensure to stick to the recipe for optimal results.
Can I Prepare This in Advance?
Absolutely! Cereal bars can be made ahead of time and stored in the fridge or freezer. They’re a fantastic option for meal prep, allowing you to have a nutritious snack ready to go whenever you need it.
What Ingredients Can I Swap?
Common swaps include using almond or coconut flour instead of oats for a gluten-free alternative or using brown sugar instead of honey if you’re looking for a different sweetness profile.
Print
Cereal Bars
- Total Time: 25 minutes (plus 30 min cooling time)
- Yield: 12 bars 1x
- Diet: Vegetarian
Description
These easy homemade cereal bars combine oats, rice cereal, and nut butter for a delicious, chewy snack perfect for breakfast or on-the-go energy boosts.
Ingredients
- 3 cups of rolled oats
- 1 cup of rice cereal (like Krispies)
- 1 cup of nut butter (such as almond or peanut butter)
- 1/2 cup of honey or maple syrup
- 1/2 teaspoon of vanilla extract
- 1/2 teaspoon of salt
- Optional: 1 cup of add-ins (such as chocolate chips, dried fruit, or chopped nuts)
Instructions
- Preheat the oven to 350°F (175°C) if baking. Line an 8×8-inch baking dish with parchment paper or grease it.
- In a large mixing bowl, stir together rolled oats and rice cereal until well combined.
- In a small saucepan over medium heat, combine nut butter, honey (or maple syrup), vanilla extract, and salt. Stir continuously until smooth, about 2-3 minutes.
- Pour the warm mixture over the oats and cereal. Stir until everything is evenly coated. Fold in add-ins if using.
- Press the mixture firmly into the prepared pan using a spatula or damp hands to ensure an even layer.
- For chewy bars, bake for 15–20 minutes. For no-bake bars, skip the baking step.
- Let the bars cool for at least 30 minutes. Lift out using parchment edges and cut into bars or squares.
- Store in an airtight container at room temperature, in the fridge, or freeze for longer storage.
Notes
- Use parchment paper to avoid sticking and for easier removal.
- Wet your hands slightly to press the mixture without sticking.
- Let the bars cool completely before cutting to avoid crumbling.
- Add cinnamon, cocoa powder, or protein powder for flavor and nutrition.
- Prep Time: 10 minutes
- Cook Time: 15 minutes
- Category: Snack
- Method: No-Bake or Baked
- Cuisine: American
Nutrition
- Serving Size: 1 bar
- Calories: 210
- Sugar: 10g
- Sodium: 80mg
- Fat: 10g
- Saturated Fat: 2g
- Unsaturated Fat: 7g
- Trans Fat: 0g
- Carbohydrates: 26g
- Fiber: 3g
- Protein: 5g
- Cholesterol: 0mg
Keywords: cereal bars, oat bars, homemade snack, no-bake bars, healthy breakfast bars