Coffee ice cream is a decadent and revitalizing treat that perfectly encapsulates the rich and bitter flavors of your favorite brew while pairing them with the smooth, creamy texture characteristic of this beloved frozen dessert. With every spoonful, you experience the harmonious balance of bitter-sweetness, complemented by a silky smoothness that melts effortlessly on your tongue. This coffee ice cream can be enjoyed year-round and is perfect for a variety of occasions—whether it’s a family gathering, a special celebration, or just a moment of indulgence after a long day.

What You’ll Need for Coffee Ice Cream
Complete Ingredients List
- 3/4 cup (150 grams) granulated sugar – This will sweeten the custard base and balance the bitterness of the coffee.
- 1/4 teaspoon coarse kosher salt – Elevates the flavors and enhances the overall taste.
- 4 large egg yolks – Provides richness and a creamy base, essential for the custard.
- 1-1/2 cups (342 grams) heavy cream – Adds decadent creaminess and luscious texture to the ice cream.
- 1-1/2 cups (342 grams) whole milk – Helps to create a balanced mixture while maintaining a scoopable texture.
- 3 tablespoons instant coffee or 1/3 cup medium grind coffee – The star ingredient, lending that delicious coffee flavor.
- 1 teaspoon vanilla extract – Enhances the flavor profile and lends warmth to the ice cream.
Ingredient Substitutions & Alternatives
If you have specific dietary needs or preferences, several alternatives can be made without compromising on flavor:
- Dairy-Free: Substitute heavy cream and whole milk with full-fat coconut milk or a blend of almond milk and coconut cream to maintain creaminess.
- Sugar-Free: Opt for granulated erythritol or another sugar substitute if you’re looking to reduce sugar without skimping on sweetness.
- Flavored Variations: You can replace the coffee with espresso powder or flavored syrups for a twist on the traditional coffee ice cream.
How to Make Coffee Ice Cream
Creating your own coffee ice cream at home may seem daunting, but with this step-by-step guide, you’ll find that it’s quite achievable and worth the effort.
Step 1: Prepare Your Ice Bath
Start by setting up an ice bath using two nesting metal bowls. Fill the larger bowl with ice and water, then place the smaller bowl inside it. This will be used for cooling your custard base once it’s ready. The ice bath is a crucial step to prevent the custard from overcooking, ensuring that you maintain that smooth texture.
Step 2: Whisk Together Sugar, Salt, and Egg Yolks
In a medium-sized pot, vigorously whisk together the granulated sugar, coarse kosher salt, and egg yolks until the mixture lightens in color and becomes somewhat creamy. This process is essential for incorporating air into the mixture, which adds to the creaminess of the final dessert.
Step 3: Incorporate Cream, Milk, Coffee, and Vanilla
Next, whisk in the heavy cream, whole milk, instant coffee (or medium grind coffee), and vanilla extract into the yolk mixture. Ensure everything is well combined. The rich aroma of coffee will start to fill your kitchen, heightening your anticipation.
Step 4: Cook Your Custard Mixture
Set the pot over medium heat and continuously stir with a wooden spoon or heat-resistant spatula. You want to cook the mixture until it reaches 175°F (around 8 minutes). It’s important to pay close attention to the temperature because going beyond this point could cause your egg yolks to scramble.
Step 5: Cooling and Straining the Custard
Once the mixture reaches the desired temperature, remove it from the heat and continue stirring gently for an additional minute to assist in raising the temperature to 180°F, which is important for food safety. Strain the custard through a fine-mesh sieve into the smaller bowl that’s sitting in the ice bath. This step removes any coagulated egg bits, ensuring a silken texture.
Step 6: Chill the Custard
Allow the custard to cool to room temperature. After that, cover it with plastic wrap and refrigerate until it reaches 40°F (or preferably overnight). This chilling process allows the flavors to deepen, resulting in a more robust coffee taste.
Step 7: Churning the Ice Cream
Once chilled, pour your custard mixture into your ice cream maker and churn according to the manufacturer’s instructions until it achieves a soft-serve consistency. This process typically takes about 20 to 25 minutes, depending on your ice cream maker.
Step 8: Freezing Your Coffee Ice Cream
Transfer the churned ice cream into airtight containers. To avoid freezer burn, place a piece of parchment paper directly on the surface of the ice cream before sealing the container. Freeze it for at least a few hours until firm—this will allow the flavors to meld beautifully, creating a rich and creamy ice cream.
Serving Suggestions for Coffee Ice Cream
How to Serve Coffee Ice Cream
To serve your homemade coffee ice cream, scoop it directly from the freezer using a warm ice cream scoop to create perfectly rounded balls. The ideal serving temperature is slightly below freezing; allow the ice cream to soften for about 5 minutes at room temperature for the best flavor and texture. For an elegant presentation, consider plating scoops in chilled dessert bowls or cones, garnishing with chocolate shavings or coffee beans for a refined touch.
Perfect Pairings & Toppings
Coffee ice cream pairs wonderfully with a host of toppings and side dishes. Enhance its flavor with:
- Chocolate Sauce: Drizzle rich chocolate or caramel sauce over the ice cream for a delightful contrast.
- Whipped Cream: A dollop of freshly whipped cream will add a luscious touch.
- Nuts: Chopped hazelnuts or almonds can provide a delightful crunch that complements the creamy texture.
- Fresh Mint Leaves: A sprig of mint not only adds a pop of color but freshens the palate.
Storing & Preserving Coffee Ice Cream
Best Storage Methods
To keep your coffee ice cream fresh and flavorful, skilled storage is essential. Place it in an airtight container and ensure that there is minimal air contact to reduce the risk of freezer burn. Properly stored, coffee ice cream can last in the freezer for up to two weeks, although for best quality, consuming it within a week is ideal.
Reheating or Freezing Tips
If your ice cream has been in the freezer for a while and has become too hard, simply leave it out at room temperature for a few minutes before scooping. Avoid using a microwave to hasten the process, as this can turn your frozen treat into an unwanted soupy mess. Patience is key.
Tips for Perfect Coffee Ice Cream Every Time
Avoid These Common Mistakes
To ensure the best possible outcome when making coffee ice cream at home, avoid these common pitfalls:
- Overcooking the custard can result in a grainy texture. Keep a close eye on the temperature and stir continuously.
- Not chilling the custard completely before churning can prevent it from freezing properly and achieving the desired creaminess.
Helpful Tricks for Success
For optimal results, consider the following tips:
- Quality Coffee: Use high-quality coffee for the best flavor. A fresh grind will yield a more aromatic custard.
- Pre-chill Your Ice Cream Maker: Placing your ice cream maker bowl in the freezer for several hours before use helps it freeze the custard more effectively.
- Gradual Freezing: If you don’t have an ice cream maker, you can freeze the mixture in a shallow dish, stirring every 30 minutes for a few hours to incorporate air and create a smoother texture.
Fun Variations of Coffee Ice Cream
Flavor Variations or Recipe Twists
Experimenting with different flavors can take your coffee ice cream to new heights. Here are a few ideas:
- Mocha: Add cocoa powder for a chocolate-coffee hybrid.
- Coffee Chip: Stir in mini chocolate chips right before freezing for delightful bursts of chocolate in every scoop.
- Spiced Coffee: Try adding a hint of cinnamon or nutmeg for a warm spice note that complements the coffee.
Dietary-Friendly Adjustments
You can create variations of this recipe accommodating different dietary needs:
- Vegan: Use coconut cream and a gelatin substitute, such as agar-agar, to create a creamy texture without dairy.
- Keto-Friendly: Use a sugar substitute like monk fruit sweetener and full-fat coconut or almond milk for a low-carb treat.
FAQs
What If My Coffee Ice Cream Doesn’t Turn Out Right?
If your coffee ice cream turns out too hard, it might be because it wasn’t churned sufficiently. If it’s icy, this may indicate that it didn’t cool properly before freezing or that the mixture was incorporated without enough air. For overly sweet ice cream, consider reducing the sugar amount slightly next time around.
Can I Prepare This in Advance?
Yes! Coffee ice cream can be made ahead of time and stored in the freezer for up to two weeks. This feature makes it a great option for parties or gatherings, allowing you to focus on other aspects of meal preparation without last-minute stress.
What Ingredients Can I Swap?
You can swap out the cream and milk for plant-based options like coconut milk to accommodate dairy sensitivities. If fresh coffee isn’t available, instant coffee can be used as an alternative, providing the same rich flavor without the additional brewing step.
Print
Coffee Ice Cream
- Total Time: 6 hours (including chilling and freezing)
- Yield: About 1 quart (8 servings) 1x
- Diet: Vegetarian
Description
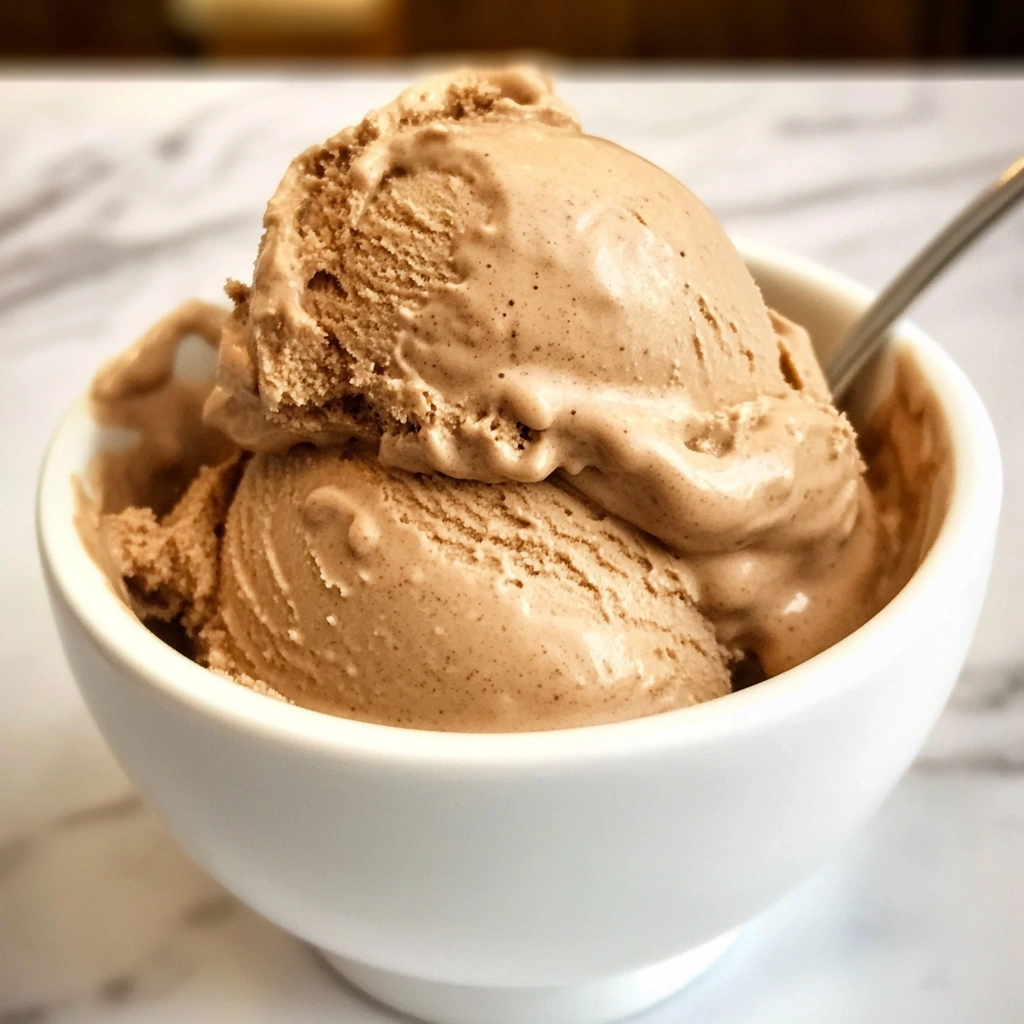
Rich and creamy Coffee Ice Cream made with real coffee and a luscious custard base. Perfectly sweet, bold in flavor, and irresistibly smooth.
Ingredients
- 3/4 cup (150 grams) granulated sugar
- 1/4 teaspoon coarse kosher salt
- 4 large egg yolks
- 1 1/2 cups (342 grams) heavy cream
- 1 1/2 cups (342 grams) whole milk
- 3 tablespoons instant coffee or 1/3 cup medium grind coffee
- 1 teaspoon vanilla extract
Instructions
- Prepare an ice bath by placing a smaller metal bowl into a larger bowl filled with ice and water.
- In a medium pot, whisk together sugar, salt, and egg yolks until light and creamy.
- Whisk in heavy cream, whole milk, coffee, and vanilla extract until well combined.
- Cook the mixture over medium heat, stirring constantly, until it reaches 175°F (about 8 minutes).
- Remove from heat and stir for 1 minute to bring the temperature to 180°F. Strain through a sieve into the bowl in the ice bath.
- Cool the custard to room temperature, cover with plastic wrap, and refrigerate until it reaches 40°F or overnight.
- Churn the chilled custard in an ice cream maker according to the manufacturer’s instructions (about 20–25 minutes).
- Transfer to airtight containers, press parchment paper onto the surface, and freeze for several hours until firm.
Notes
- Use full-fat coconut milk or almond milk blends for a dairy-free option.
- Replace sugar with erythritol for a sugar-free version.
- Try espresso powder or flavored syrups for variations in flavor.
- Prep Time: 20 minutes
- Cook Time: 10 minutes
- Category: Dessert
- Method: Churned
- Cuisine: American
Nutrition
- Serving Size: 1/2 cup
- Calories: 240
- Sugar: 18g
- Sodium: 85mg
- Fat: 17g
- Saturated Fat: 10g
- Unsaturated Fat: 5g
- Trans Fat: 0g
- Carbohydrates: 20g
- Fiber: 0g
- Protein: 3g
- Cholesterol: 110mg
Keywords: coffee ice cream, homemade ice cream, custard base, rich dessert, summer treat