About Homemade Honey Buns
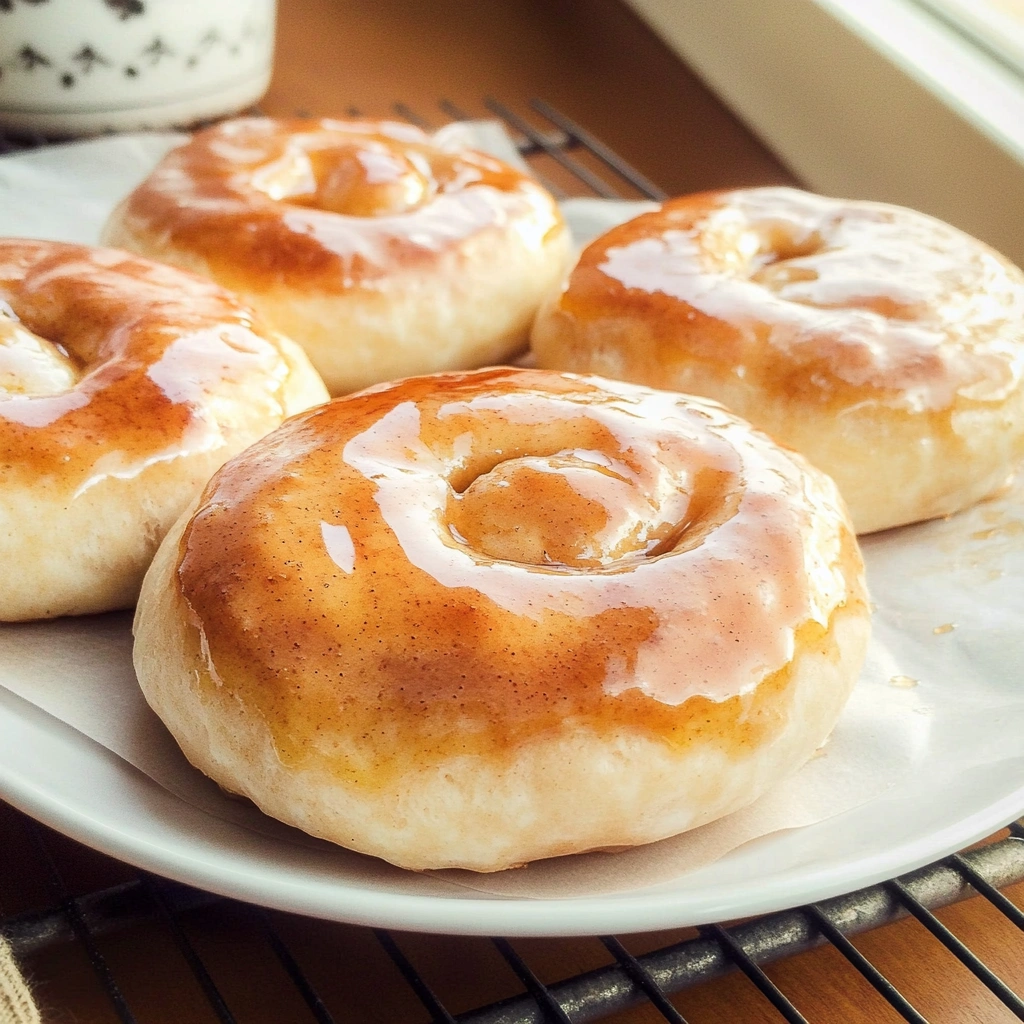
Homemade honey buns are delightful baked treats that are a wonderful blend of sweetness and comfort. With their soft, pillowy texture and a luscious honey glaze, these delectable pastries offer a warm, inviting flavor that’s hard to resist. Originating from various cultures around the world, honey buns are often associated with comfort foods, homestyle baking, and gatherings among friends and family. They are perfect for breakfast, as an afternoon snack, or even as a dessert for festive occasions and casual get-togethers.

What You’ll Need for Homemade Honey Buns
Complete Ingredients List
For the Dough:
- 4 cups all-purpose flour
- 1 packet (2 ¼ teaspoons) instant yeast
- ½ cup granulated sugar
- 1 teaspoon salt
- 2 large eggs
- ½ cup whole milk (warm)
- ½ cup unsalted butter (melted)
- ¼ cup honey
For the Honey Glaze:
- ½ cup powdered sugar
- 2 tablespoons honey
- 1-2 tablespoons milk (for consistency)
Optional Add-ins and Toppings:
- ½ cup raisins or dried fruit
- 1 teaspoon ground cinnamon
- Chopped nuts (walnuts or pecans)
Ingredient Substitutions & Alternatives
- Gluten-Free: Substitute all-purpose flour with a gluten-free flour blend designed for baking.
- Dairy-Free: Use almond milk or coconut milk in place of whole milk and coconut oil instead of butter.
- Vegan: Replace eggs with a flaxseed mixture (1 tablespoon ground flaxseed + 2.5 tablespoons water) and use plant-based butter.
- Sugar-Free: Use a sugar substitute like erythritol or monk fruit sweetener.
To add variety, you can also consider flavor variations such as adding chocolate chips, mixing in spices like nutmeg, or incorporating citrus zest for brightness.
How to Make Homemade Honey Buns
Step 1: Prepare the Dough
In a large mixing bowl, combine the warm milk and honey. Stir until the honey dissolves, and then sprinkle in the instant yeast. Allow this mixture to sit for 5-10 minutes until it becomes foamy. This step ensures that your yeast is active and ready to make the dough rise.
Step 2: Mix Dry Ingredients
While waiting for the yeast mixture, in another bowl, whisk together the all-purpose flour, granulated sugar, and salt. This combination of dry ingredients will help to evenly distribute the yeast and sugar through your dough, ensuring that each bite is perfectly sweet.
Step 3: Combine and Knead
Add the flour mixture to the yeast and milk mixture, followed by the eggs and melted butter. Mix until a shaggy dough forms. Turn the dough out onto a floured surface and knead for about 8-10 minutes until it is smooth and elastic. If you have a stand mixer, you can use the dough hook attachment on a low speed for about 5 minutes instead.
Step 4: Allow to Rise
Place the kneaded dough in a lightly greased bowl, cover it with a clean kitchen towel, and let it rise in a warm place for about 1 hour or until it has doubled in size. This step is essential as it allows the flavors to develop and the texture to soften.
Step 5: Shape the Buns
After the dough has risen, punch it down gently to release any trapped air. Roll the dough out on a floured surface to a rectangle approximately ½ inch thick. If you desire, sprinkle cinnamon, raisins, or nuts before rolling it up tightly from one long edge to the other. Cut the rolled dough into equal pieces, about 1.5 inches wide.
Step 6: Second Rise
Place the cut dough into a greased baking dish or on a lined baking tray, leaving some space between the pieces. Cover them with a towel and let them rise for about 30 minutes until they swell in size.
Step 7: Bake
Preheat your oven to 350°F (175°C). Once the buns have risen, place them in the oven and bake for 18-22 minutes or until they are golden brown and sound hollow when tapped on the bottom.
Step 8: Prepare the Glaze
While the buns are baking, prepare the honey glaze by mixing powdered sugar, honey, and milk until smooth. Adjust the consistency by adding more milk if it’s too thick or more powdered sugar if thin.
Step 9: Glaze and Serve
Once the buns are out of the oven, let them cool in the pan for about just 10 minutes before drizzling the honey glaze over the tops. Serve warm or at room temperature for the best experience!
Serving Suggestions for Homemade Honey Buns
How to Serve Homemade Honey Buns
Homemade honey buns are best served warm but can also be enjoyed at room temperature. If you prefer them warm, pop them in the microwave for about 10-15 seconds. For a charming presentation, consider plating the buns on a serving platter with a sprinkle of powdered sugar or a drizzle of additional honey for added sweetness.
Perfect Pairings & Toppings
These honey buns pair wonderfully with a variety of toppings and accompaniments. A dollop of whipped cream can enhance their sweetness, while a side of fresh fruit, such as berries or slices of oranges, adds a refreshing touch. For coffee lovers, serving these delectable treats with a hot cup of coffee or tea can create the perfect breakfast or snack pairing.
Storing & Preserving Homemade Honey Buns
Best Storage Methods
Homemade honey buns can be stored at room temperature in an airtight container for about 2-3 days. If you want to keep them longer, they can be refrigerated for up to a week. However, refrigeration might change the texture slightly, making them denser.
Reheating or Freezing Tips
If you have leftovers, you can easily reheat them in the microwave for a few seconds or in the oven at 350°F (175°C) for about 10 minutes. For longer storage, honey buns can be frozen for up to 3 months. Wrap each bun individually in plastic wrap and place them in a freezer-safe bag. When ready to eat, thaw them in the refrigerator overnight or defrost in the microwave.
Tips for Perfect Homemade Honey Buns Every Time
Avoid These Common Mistakes
- Using Old Yeast: Always check the expiration date on your yeast. If it’s expired, it won’t activate properly, leading to dense buns.
- Over-Kneading the Dough: Knead just until it’s smooth. Over-kneading can make the buns tough instead of soft.
- Not Allowing Enough Rising Time: Patience is key. Allow the dough to rise fully for optimum fluffiness.
Helpful Tricks for Success
- Test the Yeast: Before mixing it into your recipe, you can test if your yeast is active by mixing it with warm water and sugar to see if it bubbles.
- Use Warm Ingredients: Make sure your milk and eggs are at room temperature to help with dough rising.
- Add Ins: Get creative! Consider adding chocolate chips, shredded coconut, or spices like cardamom for an exciting twist.
Fun Variations of Homemade Honey Buns
Flavor Variations or Recipe Twists
Consider adding zest from oranges or lemons for a citrus twist. You can also incorporate different spices such as cardamom or vanilla extract to the dough for unique flavors. Include fillings like chocolate ganache or cream cheese for an indulgent treat.
Dietary-Friendly Adjustments
For those needing dietary adaptations, you can switch the all-purpose flour with almond or coconut flour for a low-carb version or change the sweeteners to fit a keto diet. Both flavor and texture can still shine through with the right adjustments.
FAQs
What If My Homemade Honey Buns Doesn’t Turn Out Right?
If your honey buns turn out too dry, they may have overbaked or lacked enough moisture in the dough. On the other hand, if they are too dense, it’s likely due to inactive yeast or not allowing enough rising time. Always ensure to follow the instructions carefully and make adjustments based on your oven’s performance.
Can I Prepare This in Advance?
Yes! You can prepare the dough the night before and let it rise in the refrigerator. The next day, simply bring it to room temperature, shape, allow it to rise again, and bake as instructed. You can also freeze unbaked rolls and bake them straight from the freezer—just allow extra time.
What Ingredients Can I Swap?
Common substitutes include using oat milk instead of whole milk, coconut sugar in place of granulated sugar, or gluten-free flour for the all-purpose flour. You can also swap out the honey for maple syrup for a different sweet flavor.
By following these tips and instructions, you can create perfect homemade honey buns that will have everyone asking for seconds. Enjoy the delicious process of baking and the wonderful aroma that fills your kitchen as you indulge in these delightful sweet treats!
Print
Homemade Honey Buns
- Total Time: 2 hours (including rising time)
- Yield: 12 buns 1x
- Diet: Vegetarian
Description
Homemade honey buns are soft, pillowy pastries with a delightful honey glaze, offering a perfect balance of sweetness and comfort. They’re ideal for breakfast, an afternoon snack, or a dessert for casual get-togethers.
Ingredients
- 4 cups all-purpose flour
- 1 packet (2 ¼ teaspoons) instant yeast
- ½ cup granulated sugar
- 1 teaspoon salt
- 2 large eggs
- ½ cup whole milk (warm)
- ½ cup unsalted butter (melted)
- ¼ cup honey
- ½ cup powdered sugar (for glaze)
- 2 tablespoons honey (for glaze)
- 1–2 tablespoons milk (for glaze consistency)
- Optional: ½ cup raisins or dried fruit
- Optional: 1 teaspoon ground cinnamon
- Optional: Chopped nuts (walnuts or pecans)
Instructions
- In a large bowl, combine warm milk and honey. Stir until honey dissolves, then sprinkle in the yeast. Let sit for 5-10 minutes until foamy.
- In a separate bowl, whisk together flour, sugar, and salt.
- Add the flour mixture to the yeast mixture, then mix in eggs and melted butter. Knead the dough on a floured surface for 8-10 minutes until smooth and elastic. Alternatively, use a stand mixer with a dough hook for about 5 minutes.
- Place the kneaded dough in a greased bowl, cover with a towel, and let rise in a warm place for 1 hour, or until doubled in size.
- After rising, punch the dough down and roll it out to a rectangle, about ½ inch thick. Optionally, sprinkle with cinnamon, raisins, or nuts before rolling up tightly. Cut the dough into 1.5-inch wide pieces.
- Place the cut dough in a greased baking dish or lined baking tray. Cover with a towel and let rise for 30 minutes until swollen.
- Preheat oven to 350°F (175°C). Bake the buns for 18-22 minutes, or until golden brown and hollow when tapped.
- While the buns bake, prepare the glaze by mixing powdered sugar, honey, and milk until smooth. Adjust consistency with milk or powdered sugar.
- Let the buns cool for about 10 minutes, then drizzle the honey glaze over the tops. Serve warm or at room temperature.
Notes
- For a gluten-free version, substitute with a gluten-free flour blend.
- For a dairy-free version, use almond or coconut milk, and coconut oil instead of butter.
- For a vegan version, replace eggs with a flaxseed mixture (1 tbsp ground flaxseed + 2.5 tbsp water) and use plant-based butter.
- For a sugar-free version, replace sugar with erythritol or monk fruit sweetener.
- Consider adding chocolate chips, spices like nutmeg, or citrus zest for different flavor variations.
- Prep Time: 30 minutes
- Cook Time: 22 minutes
- Category: Baked Goods
- Method: Baking
- Cuisine: American
Nutrition
- Serving Size: 1 bun
- Calories: 220
- Sugar: 17g
- Sodium: 150mg
- Fat: 9g
- Saturated Fat: 5g
- Unsaturated Fat: 3g
- Trans Fat: 0g
- Carbohydrates: 30g
- Fiber: 1g
- Protein: 3g
- Cholesterol: 40mg
Keywords: Honey Buns, Homemade Buns, Honey Glaze, Breakfast Buns, Comfort Food, Sweet Pastry