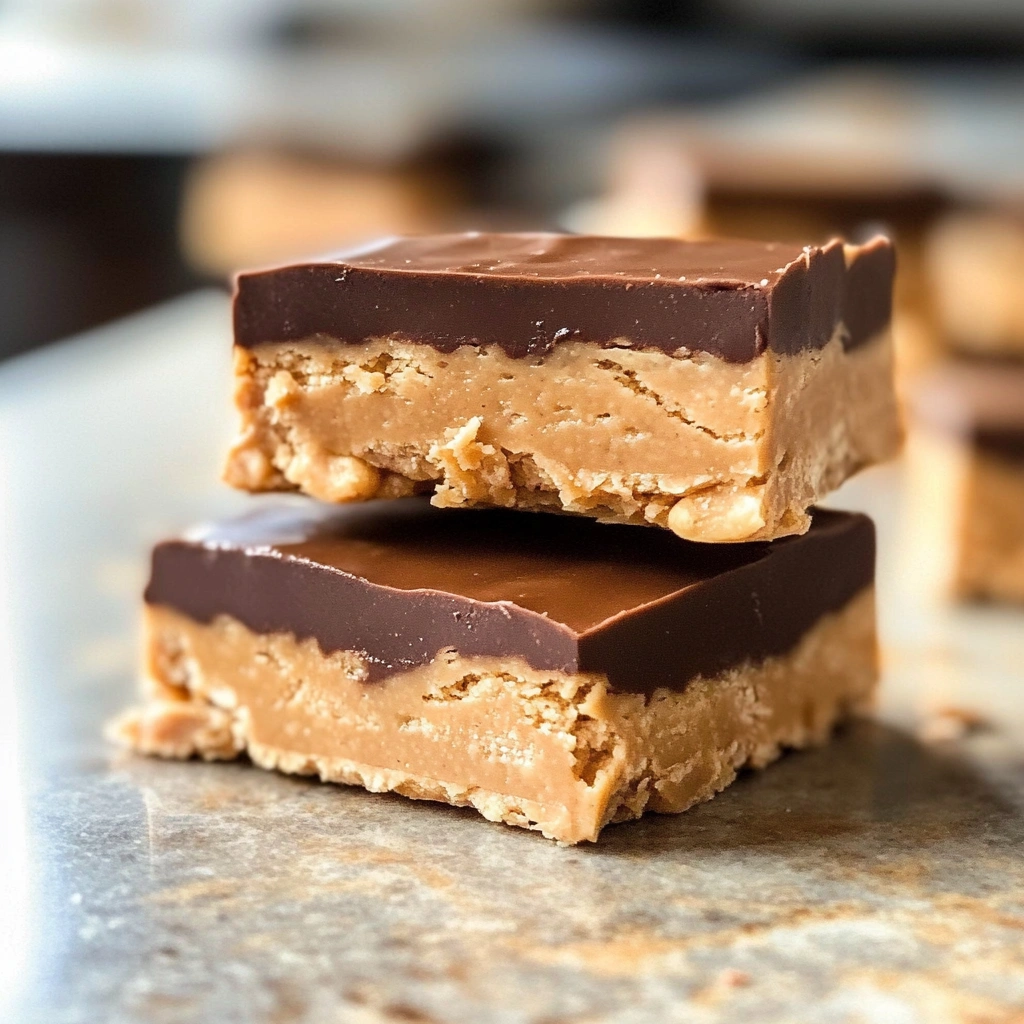
When it comes to convenient, nutritious snacks, few options rival the versatility and taste of homemade protein bars. These homemade protein bars are not just a simple pick-me-up; they are a delicious blend of flavors that delivers the energy you need without compromising on nutrition. With a base of creamy peanut butter, protein powder, and a hint of sweetness from maple syrup or honey, this recipe is perfect for anyone looking to fuel their day healthily. The texture is chewy yet satisfying, with the optional chocolate chips adding a delightful touch of indulgence. Perfect for pre-workout snacks, post-workout recovery, or a quick treat on the go, these protein bars fit seamlessly into any lifestyle.

Complete Ingredients List
- 1 1/2 cups peanut butter or allergy-friendly substitute
- 3/4 cup protein powder (90g)
- 1/4 cup pure maple syrup or honey
- 1/2 tsp salt
- 4 oz melted chocolate chips (optional)
Ingredient Substitutions & Alternatives
- Peanut Butter: For those with peanut allergies, feel free to substitute with almond butter, sunflower seed butter, or tahini.
- Protein Powder: You can use whey, plant-based (pea, rice, or hemp), or any protein powder that suits your dietary needs.
- Maple Syrup/Honey: Agave syrup or date syrup can be excellent alternatives for sweetness.
- Chocolate Chips: Use dairy-free chocolate chips for a vegan option or omit altogether for a lower-calorie bar.
How to Make Homemade Protein Bars
Making homemade protein bars is a simple process, making it easy to customize according to your preferences and dietary needs. Follow these detailed steps for a guaranteed success!
Step 1: Mix the Ingredients
In a large mixing bowl, combine the peanut butter or your chosen substitute, protein powder, pure maple syrup or honey, and salt. Use a spatula or spoon to blend everything together until a dough-like consistency forms. The mixture should be thick and sticky—this is what will hold the bars together.
Step 2: Shape the Bars
Once your mixture is homogenous, it’s time to shape them. You can either take small handfuls and shape them into individual bars by hand or press the entire mixture into a lined 8×8 inch pan. Press down firmly to ensure the bars hold their shape once chilled.
Step 3: Chill in the Fridge
Refrigerate the bars for at least an hour until they are firm enough to cut. This cooling step is crucial as it helps the bars set properly and makes them easier to slice.
Step 4: Add the Chocolate Coating (Optional)
If you’re opting for the chocolate chips, melt them in a microwave-safe bowl or over a double boiler. Once melted, either dip each bar individually into the chocolate and let the excess drip off or spread the chocolate evenly across the top of the chilled mixture in the pan. Place the bars back in the fridge to let the chocolate set.
Serving Suggestions for Homemade Protein Bars
Creating the perfect protein bar is one thing, but knowing how to serve and present them elevates the experience further!
How to Serve Homemade Protein Bars
Protein bars can be enjoyed immediately after chilling. For optimal enjoyment, serve them chilled. Simply remove from the fridge and slice it into evenly sized bars or squares. For presentation, place them on a beautiful plate or laid out in a stack for an appealing look.
Perfect Pairings & Toppings
If you want to enhance your protein bar experience, consider pairing them with:
- Greek Yogurt: A dollop of Greek yogurt can elevate the snack’s protein factor and add creaminess.
- Fresh Fruit: Sliced bananas, strawberries, or a handful of berries make for a refreshing contrast.
- Nut Butter Drizzle: A light drizzle of almond or peanut butter can add extra flavor and richness.
Storing & Preserving Protein Bars
To maintain the perfect texture and flavor of your protein bars, proper storage is key.
Best Storage Methods
Store your protein bars in an airtight container in the refrigerator for up to 1 week. If you’re making a batch to last longer, they can be frozen for 2-3 months.
Reheating or Freezing Tips
To enjoy a frozen protein bar, take it out of the freezer and let it thaw at room temperature for about 15 minutes before indulging. If you have leftover bars that need reheating, warm them in the microwave for a few seconds to regain their soft texture.
Tips for Perfect Protein Bars Every Time
Consistency is key when it comes to making the perfect protein bars. Here are some tips to ensure your bars come out flawless every time.
Avoid These Common Mistakes
- Overmixing: Mixing the ingredients too much can lead to a dry texture.
- Skipping the Chill: Don’t skip the chilling step; it’s essential for the bars to hold their shape.
- Using the Wrong Container: Ensure you use a properly lined pan to prevent sticking.
Helpful Tricks for Success
- Use a Cookie Cutter: If you want uniquely shaped bars, use cookie cutters for fun shapes.
- Experiment with Add-ins: Incorporate nuts, seeds, or dried fruits to enhance the nutritional value.
Fun Variations of Homemade Protein Bars
Don’t hesitate to divert from the basic recipe and add your twist!
Flavor Variations or Recipe Twists
- Chocolate Chip Cookie Dough: Mix in mini chocolate chips and use brown sugar instead of maple syrup for cookie dough flavor.
- Berry Burst: Add dried berries to the mixture for a fruity flavor.
- Coconut Bliss: Toss in shredded coconut for a tropical touch.
Dietary-Friendly Adjustments
Want your protein bars to cater to specific dietary needs? Here’s how to adjust:
- Vegan: Substitute honey with agave syrup and ensure your protein powder is plant-based.
- Keto: Opt for sugar-free sweeteners, and use almond flour instead of protein powder if preferred.
- Sugar-Free: Replace sweeteners with erythritol or stevia for sugar-free options.
FAQs
Having questions about homemade protein bars? Let’s address the most common ones!
What If My Protein Bars Doesn’t Turn Out Right?
If your protein bars come out too dry, try adding a little more peanut butter or syrup to the mixture before chilling. If they are too sticky or gooey, consider mixing in more protein powder to balance the texture.
Can I Prepare This in Advance?
Absolutely! You can make these protein bars in advance and store them in the fridge or freezer. Making a batch on the weekend means you’ll have quick snacks ready for busy weekdays.
What Ingredients Can I Swap?
If you can’t find certain ingredients at your local grocery store, don’t hesitate to experiment with substitutions that feel right for you. For example, oatmeal can often replace protein powder, and nut or seed butter can substitute for peanut butter.
Print
Homemade Protein Bars
- Total Time: 1 hour 10 minutes
- Yield: 10 bars 1x
Description
These homemade protein bars are a nutritious, chewy snack made with peanut butter, protein powder, and natural sweeteners like maple syrup or honey. Optional chocolate chips add a delicious indulgent layer. Ideal for post-workout fuel, on-the-go snacking, or a healthy treat any time of day.
Ingredients
- 1 1/2 cups peanut butter (or almond butter, sunflower seed butter, or tahini)
- 3/4 cup protein powder (90g – whey or plant-based)
- 1/4 cup pure maple syrup or honey
- 1/2 teaspoon salt
- 4 oz melted chocolate chips (optional)
Instructions
- In a large bowl, combine peanut butter, protein powder, maple syrup or honey, and salt. Mix until a thick, sticky dough forms.
- Shape the mixture into bars by pressing it into a lined 8×8-inch pan or forming individual bars by hand. Press down firmly.
- Refrigerate for at least 1 hour until the bars are firm and set.
- Optional: Melt the chocolate chips and dip each bar or spread the chocolate over the pan. Return to the fridge to set the chocolate.
- Once fully set, slice into bars and enjoy. Store in an airtight container in the fridge for up to one week.
☀️ Best Summer Kitchen Deals


Notes
- Use almond, sunflower, or tahini butter for allergy-friendly options.
- Choose a protein powder that suits your dietary needs (whey, plant-based, etc.).
- Agave or date syrup can replace maple syrup/honey.
- Omit or use dairy-free chocolate chips for a vegan version.
- Prep Time: 10 minutes
- Cook Time: undefined
- Category: Snack
- Method: No-Bake
- Cuisine: American
Nutrition
- Serving Size: 1 bar
- Calories: 220
- Sugar: 6g
- Sodium: 150mg
- Fat: 14g
- Saturated Fat: 4g
- Unsaturated Fat: 9g
- Trans Fat: 0g
- Carbohydrates: 12g
- Fiber: 2g
- Protein: 10g
- Cholesterol: 0mg
Keywords: protein bars, healthy snack, peanut butter protein bars, no-bake bars, post-workout snack