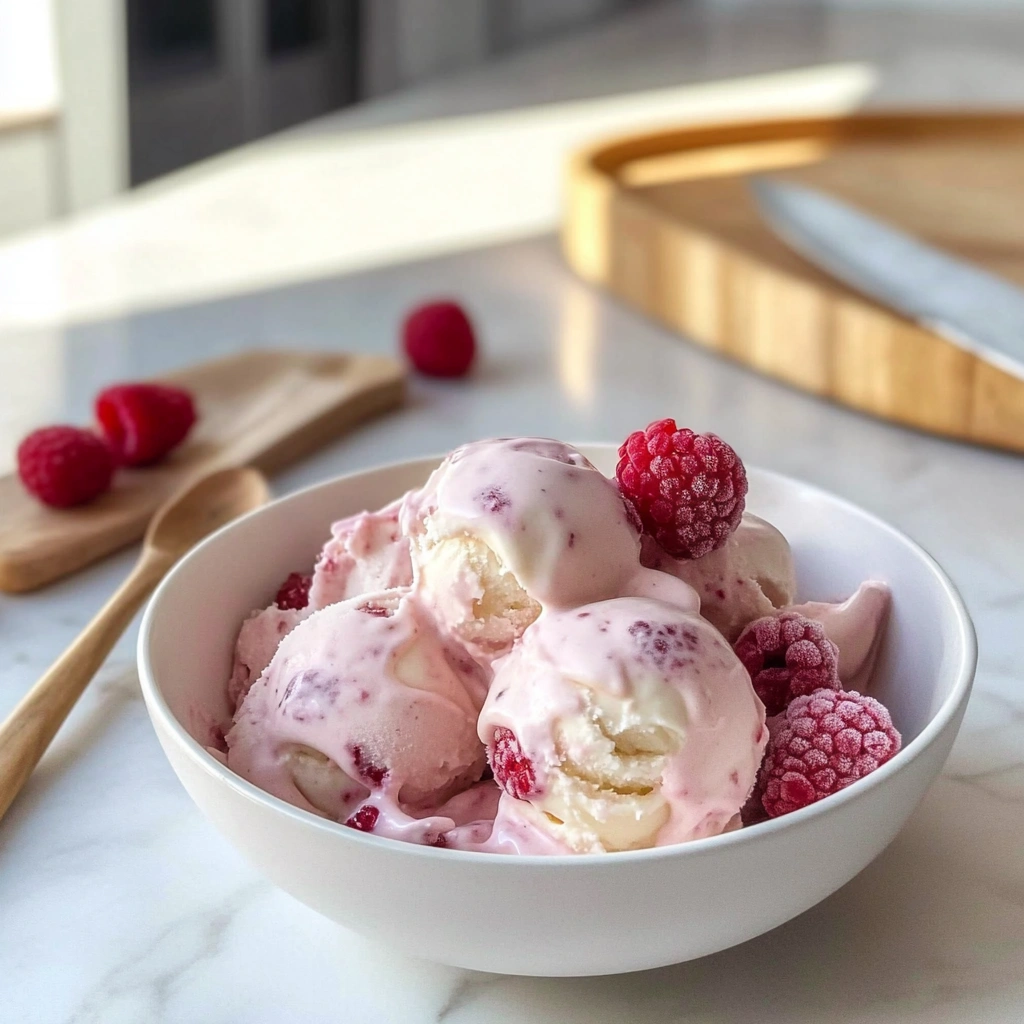
Indulging in a sweet treat doesn’t need to be a guilty pleasure, and the White Chocolate Raspberry Protein Ice Cream is the perfect example. Blending the luscious flavors of creamy white chocolate with the tartness of fresh raspberries, this ice cream not only captures a delightful taste but also packs a protein punch. With its velvety texture and inviting color, it is a feast for the eyes as well as the palate.

What You’ll Need for White Chocolate Raspberry Protein Ice Cream
Complete Ingredients List
- 2 scoops white chocolate raspberry protein powder (60 grams)
- 1.5 cups filtered milk (or milk of choice)
- 1/2 teaspoon xanthan gum (2 grams)
- 10 drops liquid stevia (to taste)
- 5 squares white chocolate bar, chopped (20 grams)
- Handful raspberries (45 grams)
Ingredient Substitutions & Alternatives
If you have dietary restrictions or want to customize this recipe, there are numerous alternatives available:
- Milk Substitutes: Use almond milk, coconut milk, or oat milk for a dairy-free option. Soy milk also works well for extra protein.
- Protein Powder: If white chocolate raspberry protein powder is unavailable, vanilla or unflavored protein powder can be used. Add a bit of white chocolate flavoring or a couple of extra grams of melted white chocolate for the taste.
- Sweeteners: Replace liquid stevia with honey, maple syrup, or agave syrup for a natural sweetener, adjusting the quantity based on your taste preference.
- Xanthan Gum: If you’re avoiding xanthan gum, you can try using cornstarch or simply omit it for a slightly softer texture.
For flavor variations, consider adding a swirl of raspberry sauce, mixing in dark chocolate chunks, or even infusing the base with vanilla extract.
How to Make White Chocolate Raspberry Protein Ice Cream
Step 1: Blend the Ingredients
Start by placing the following ingredients in a Ninja Creami ice cream container: 2 scoops of white chocolate raspberry protein powder, 1.5 cups of your chosen milk, 1/2 teaspoon of xanthan gum, and 10 drops of liquid stevia. Using an immersion blender, mix them together thoroughly until no clumps remain and you have a smooth, well-combined mixture. This is the base of your ice cream.
Step 2: Prepare for Freezing
Once your mixture is smooth, sprinkle in the chopped squares of white chocolate and the handful of raspberries. These will add delightful bursts of flavor to your ice cream. After gently folding in the mix-ins, seal the container with its lid and place it upright in the freezer. Leave it to freeze for at least 24 hours or longer. The longer it freezes, the firmer your ice cream will be.
Step 3: Process the Ice Cream
After the freezing period, remove the lid of the container. Insert it into the outer bowl of the Ninja Creami. Secure the blade lid until you feel it click into place. Place the outer bowl in the Ninja Creami machine and select the “Light Ice Cream” mode. This will process the ice cream into a creamy texture.
Step 4: Respin If Necessary
After the first cycle, check the texture of the ice cream. If it appears powdery or not creamy enough, simply replace the lid and select the “Respin” mode. This will help achieve a smoother consistency.
Step 5: Add Mix-Ins and Serve
To enhance the flavor and texture, make a small hole in the center of the ice cream with a spoon and add any additional mix-ins you desire. This could include more raspberries, a drizzle of chocolate sauce, or even some crushed nuts. Process it again using the “Mix-In” mode for an even distribution.
Now your creamy, delicious White Chocolate Raspberry Protein Ice Cream is ready to be served. Scoop it out into bowls or cones and enjoy immediately!
Serving Suggestions for White Chocolate Raspberry Protein Ice Cream
How to Serve White Chocolate Raspberry Protein Ice Cream
To enjoy the best flavor and texture from your White Chocolate Raspberry Protein Ice Cream, serve it chilled but not frozen solid. Aim for a temperature where it’s easy to scoop out with a spoon. You can use bowls, waffle cones, or even layer it in a dessert glass for a beautiful presentation.
For a touch of elegance, garnish with a few fresh raspberries and a square of melted white chocolate drizzled over the top. It’s visually enticing and appetizing, perfect for impressing guests or satisfying your own sweet cravings.
Perfect Pairings & Toppings
Consider enhancing your White Chocolate Raspberry Protein Ice Cream with the following delectable toppings:
- Fresh Berries: Additional raspberries or strawberries can complement the creamy ice cream.
- Chocolate Drizzle: A warm drizzle of melted dark chocolate or white chocolate can elevate the experience.
- Nuts: Chopped almonds or pistachios provide a delightful crunch that contrasts the smooth texture of the ice cream.
- Coconut Flakes: Top with shredded coconut for a tropical twist.
- Mint Leaves: A sprig of fresh mint adds a pop of color and a refreshing flavor.
Serve your ice cream with a side of fruit salad, a slice of cake, or pair it with a rich chocolate brownie for an indulgent dessert night!
Storing & Preserving White Chocolate Raspberry Protein Ice Cream
Best Storage Methods
To keep your White Chocolate Raspberry Protein Ice Cream fresh, transfer any leftovers into an airtight container. This will help prevent freezer burn and maintain its creamy texture. Stored correctly in the freezer, your ice cream can last for up to two weeks, although you may find it’s eaten much sooner!
Reheating or Freezing Tips
If your ice cream becomes too hard in the freezer, allow it to sit at room temperature for about 5-10 minutes before scooping. If you want to refresh any leftover ice cream from the freezer, try placing it back in the Ninja Creami for a quick churn back to its creamy state without losing texture.
Tips for Perfect White Chocolate Raspberry Protein Ice Cream Every Time
Avoid These Common Mistakes
- Insufficient Freezing Time: If you haven’t frozen the mixture long enough, it may not blend well and could end up grainy.
- Skipping the Xanthan Gum: While you can leave it out, it helps create that creamy texture essential for a successful ice cream.
- Overloading on Mix-Ins: Adding too many extras can freeze unevenly, creating an unbalanced texture.
Helpful Tricks for Success
- Chill Your Equipment: Pre-chilling both the Ninja Creami bowl and your mixing container before starting can further enhance the creaminess of your ice cream.
- Experiment with Sweetness: Adjust the stevia to your liking, tasting as you go. Remember that flavors can become muted when frozen.
- Use Pasteurized Milk: For the best texture and flavor, use fresh, pasteurized milk or a milk blend for optimal creaminess.
Fun Variations of White Chocolate Raspberry Protein Ice Cream
Flavor Variations or Recipe Twists
Get creative with these fun variations that keep things exciting:
- Berry Bliss: Incorporate different berries such as blueberries, blackberries, or strawberries for a mixed-berry flavor.
- Creamy Chocolate: Stir in cacao powder or chocolate chips for a dual flavor experience.
- Nutty Delight: Mix in crushed roasted nuts or a swirl of almond butter for a delightful crunch and creaminess.
- Tropical Escape: Add chopped pineapple or mango for a refreshing tropical twist.
Dietary-Friendly Adjustments
- Vegan: Replace cow’s milk with a plant-based alternative, utilize a vegan protein powder, and swap stevia for maple syrup or coconut sugar.
- Sugar-Free: Stick with the stevia or opt for erythritol as a sweetener.
- Keto-Friendly: Use coconut cream instead of milk for a higher fat content and ensure your protein powder is low in carbohydrates.
FAQs
What If My White Chocolate Raspberry Protein Ice Cream Doesn’t Turn Out Right?
If your ice cream ends up too hard, allowing it to thaw slightly at room temperature should help. If it’s too soft, you likely didn’t freeze it long enough. Be sure to check the mixture consistency before processing.
Can I Prepare This in Advance?
Absolutely! This ice cream can be made ahead of time. Just be sure to store it in an airtight container in the freezer for up to two weeks. If you’re preparing for an occasion, make it a day or two in advance, giving it adequate time to freeze properly.
What Ingredients Can I Swap?
For the protein powder, consider using a different flavor, like vanilla, which can complement the raspberries just as well. Milk can be swapped for a nut-based alternative, and stevia can transition to other sweeteners that suit your taste. The optional xanthan gum can be omitted if you’re not concerned about achieving a perfectly smooth consistency.
Print
White Chocolate Raspberry Protein Ice Cream
- Total Time: 24 hours 15 minutes (including freezing)
- Yield: 4 servings 1x
- Diet: Low Lactose
Description
White Chocolate Raspberry Protein Ice Cream is a creamy, protein-packed treat combining the sweetness of white chocolate and the tartness of fresh raspberries, perfect for a healthy dessert or snack.
Ingredients
- 2 scoops white chocolate raspberry protein powder (60 grams)
- 1.5 cups filtered milk (or milk of choice)
- 1/2 teaspoon xanthan gum (2 grams)
- 10 drops liquid stevia (to taste)
- 5 squares white chocolate bar, chopped (20 grams)
- Handful raspberries (45 grams)
Instructions
- In a Ninja Creami ice cream container, blend protein powder, milk, xanthan gum, and liquid stevia with an immersion blender until smooth and lump-free.
- Gently fold in chopped white chocolate and raspberries, then seal the container and freeze upright for at least 24 hours.
- Remove the container lid, insert into the Ninja Creami outer bowl, secure the blade lid, and process on “Light Ice Cream” mode.
- If texture is powdery or not creamy, use “Respin” mode to smooth it out.
- Create a small hole in the ice cream center to add extra mix-ins like raspberries, chocolate sauce, or nuts, then process again using “Mix-In” mode for even distribution.
☀️ Best Summer Kitchen Deals


Notes
- Use almond, coconut, oat, or soy milk for dairy-free options.
- Vanilla or unflavored protein powder can substitute white chocolate raspberry protein powder with added white chocolate flavor.
- Replace liquid stevia with honey, maple syrup, or agave syrup, adjusting sweetness to taste.
- Xanthan gum can be substituted with cornstarch or omitted for a softer texture.
- Enhance flavor with raspberry sauce, dark chocolate chunks, or vanilla extract.
- Prep Time: 15 minutes
- Cook Time: 0 minutes
- Category: Dessert, Snack
- Method: Blending, Freezing, Ninja Creami Processing
- Cuisine: American
Nutrition
- Serving Size: 1/4 recipe (about 1 cup)
- Calories: 210
- Sugar: 5g
- Sodium: 80mg
- Fat: 6g
- Saturated Fat: 3.5g
- Unsaturated Fat: 2g
- Trans Fat: 0g
- Carbohydrates: 18g
- Fiber: 2g
- Protein: 20g
- Cholesterol: 10mg
Keywords: white chocolate raspberry protein ice cream, protein ice cream recipe, healthy ice cream, low lactose dessert, Ninja Creami ice cream